Completing a painting project can be a rewarding experience, whether you’re transforming the look of a room or freshening up your home’s exterior. However, one aspect of painting projects that many people overlook is the workspace cleanup after the painting is done. Properly cleaning your workspace ensures that your hard work is complemented by a tidy environment, making the final result look even better. Additionally, a thorough workspace cleanup can help preserve the integrity of the newly painted surfaces and prevent damage.
In this guide, we’ll walk you through the essential steps to clean up after painting and maintain a tidy, organized workspace throughout your home maintenance process. From cleaning brushes to managing paint spills, we’ve got you covered!
1. Why is Workspace Cleanup Important After Painting?
Proper workspace cleanup after painting projects goes beyond just tidying up the mess. It ensures that the paint job looks its best and lasts longer. Without the right cleanup, leftover paint, dust, and debris can impact the finish, causing smudges, streaks, or uneven surfaces. Additionally, the cleanup process can help you keep your tools in good condition and make your next project easier to start.
A well-maintained workspace also promotes safety. Paint spills on the floor or tools left lying around can create tripping hazards. Cleaning up immediately after a painting project helps maintain a safe environment while keeping the area free of any unwanted mess.
2. Steps to Clean Up After Painting Projects
Cleaning up after painting projects might seem overwhelming, but with a methodical approach, it becomes manageable. Let’s go through the steps to ensure your workspace cleanup is efficient and thorough.
a. Remove Painter’s Tape
The first step in any workspace cleanup after painting projects is to remove the painter’s tape. Ideally, the tape should be removed while the paint is still slightly wet or just after it dries to avoid peeling the paint. Pull the tape off at a 45-degree angle to get a clean edge without damaging the surrounding painted areas.
Be careful around corners and edges where the tape might have stuck a bit more. A utility knife can help score the paint line before removing the tape, ensuring a sharp, clean finish.
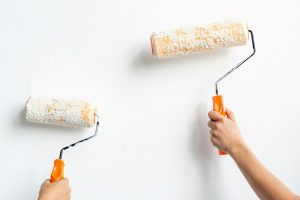
b. Clean Brushes and Rollers
Once your painting job is complete, it’s time to clean your brushes and rollers. If you used water-based paint, clean your tools with soap and warm water. For oil-based paints, you’ll need to use a solvent such as mineral spirits or paint thinner.
To clean brushes and rollers effectively:
- Rinse the brush or roller under water (or solvent if oil-based paint) to remove excess paint.
- Use a brush, comb, or your fingers to remove any paint left in the bristles.
- Wash with warm water and soap, scrubbing gently to clean all paint out.
- For rollers, you can use a roller cleaner tool or rinse them under water until the water runs clear.
Properly cleaned tools will help you avoid having to buy new ones for your next painting project, saving you money and ensuring that you’re always prepared for future jobs.
c. Clean Up Paint Drips and Spills
It’s common for small drips or spills to occur during painting projects; however, cleaning them up after the fact is essential. If the paint is still wet, use a rag or paper towel to quickly blot the spill without rubbing it in. For dried paint, you can scrape it off gently with a utility knife or a plastic scraper to avoid damaging the surface underneath.
If you have stubborn paint stains on your floor or furniture, try using paint remover or a mixture of vinegar and water. Always test a small, hidden area before applying any cleaning solution to ensure it doesn’t damage the surface.
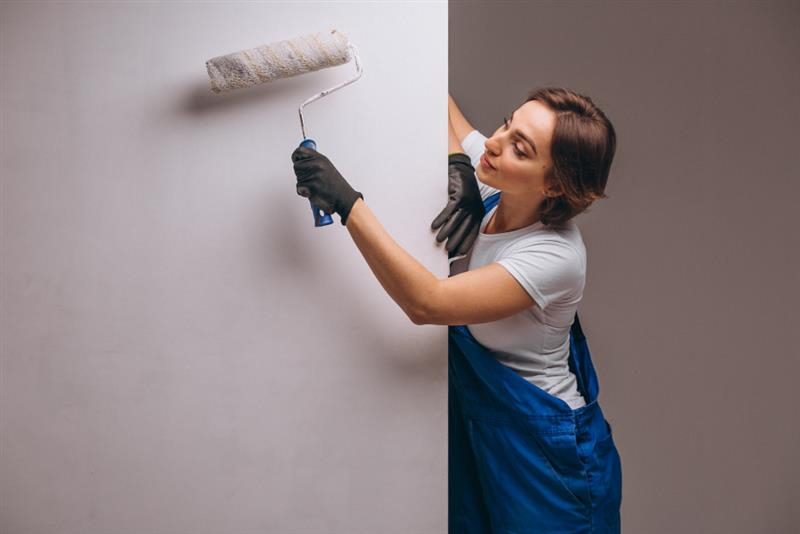
d. Wipe Down Walls and Surfaces
Once the major spills and drips are taken care of, wipe down the walls and any other painted surfaces. A damp cloth or sponge will help remove dust, debris, and any leftover paint smudges. For walls, avoid soaking the surface with water, as this can damage the paint or cause it to peel. A light wipe is all you need.
Pay extra attention to corners and edges where paint can accumulate or smudge. If you have textured walls, you may need a soft-bristled brush to get into the grooves and crevices.
e. Clean the Floor
The floor is often the area most affected by painting projects. To clean the floor:
- If you’ve used a drop cloth, fold it up carefully and shake off any excess paint before washing it.
- If paint has dripped onto the floor, act quickly. Scrape off excess paint and clean with the appropriate solvent for water- or oil-based paints.
- For any hard-to-remove stains, use a gentle scrubbing brush with a cleaning solution to lift the paint.
For workspace cleanup, always make sure to sweep or vacuum up any debris, like dried paint chips or dust, before mopping. This will prevent any dirt from being pushed around or creating more mess.
f. Dispose of Waste Properly
Proper disposal of leftover paint, cleaning solutions, and other waste materials is essential for both safety and environmental reasons. Never pour leftover paint down the drain or toss it in the trash without proper preparation. Paint cans should be emptied and dried out before disposal, and most local waste management programs offer special collection days for hazardous materials like paint.
Check with your local municipal waste facility for guidelines on how to dispose of paints, solvents, and other materials safely.
3. Preventive Measures for a Cleaner Workspace
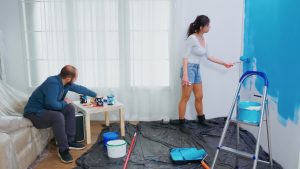
An essential part of workspace cleanup is prevention. Before starting a painting project, take steps to protect your workspace from potential messes:
- Use drop cloths to cover furniture and flooring. Heavy-duty plastic or canvas cloths can absorb paint and prevent spills from damaging surfaces.
- Protect corners and edges with painter’s tape or corner guards to prevent splatter.
- Wear appropriate clothing—old clothes or protective gear to avoid staining your clothes during the project.
- Keep the workspace organized—having a designated area for brushes, rollers, and other supplies will minimize clutter and make cleanup easier.
By being proactive, you can significantly reduce the amount of cleanup needed after painting.
4. Home Maintenance After a Painting Project
Once the workspace cleanup is complete, it’s time to focus on maintaining the integrity of the paint and your home. Regular maintenance will keep your freshly painted surfaces looking pristine for longer:
- Touch up areas where the paint may have chipped or faded.
- Keep the home ventilated during and after painting to allow the paint to cure properly.
- Monitor humidity levels—high humidity can cause paint to peel or blister over time, so maintain a comfortable environment for the paint to set.
By incorporating these home maintenance steps, you ensure that your painting projects continue to look fresh and vibrant for months or even years to come.
Conclusion
Cleaning up after a painting project may seem like a daunting task, but with the right approach, you can keep your workspace spotless and ready for the next project. By following these workspace cleanup steps and maintaining a clean environment, you can preserve the beauty of your painted surfaces and ensure that your home maintenance efforts last.
FAQ’s
Q1. How do I clean up after a painting project?
A: To clean up after a painting project, clean brushes and rollers, wipe down surfaces, remove paint spills, and clean the floor. Properly dispose of paint waste and protect your home with preventive measures.
Q2. What is the best way to protect floors during painting?
A: Use heavy-duty drop cloths or plastic sheeting to cover floors and furniture. Secure the edges to prevent paint from seeping underneath, and consider using painter’s tape for added protection.
Q3. Should I hire a cleaning service after a painting job?
A: Hiring a cleaning service depends on the size of the painting project and your available time. For large or complicated projects, a cleaning service may be a good option, but smaller jobs can typically be managed on your own.